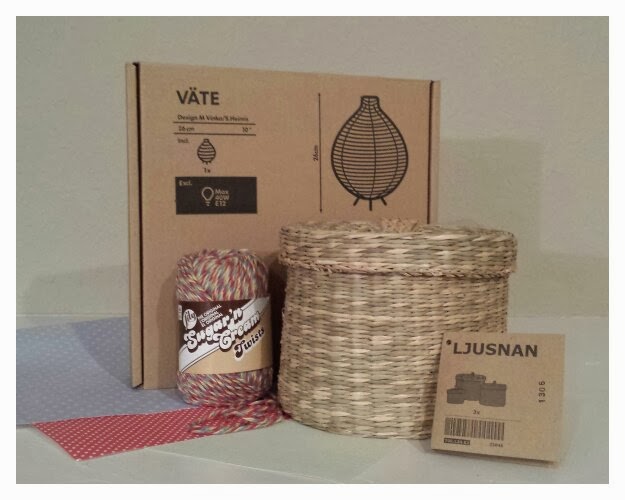
I love finding craft ideas on the internet and changing them up a bit by adding little details. I saw this hot air balloon a year ago and couldn't wait for an excuse to make one. A friend's baby shower was the perfect reason.
I got the idea from:
onecraftyplace

Supply List:
- Vate table lamp (Red) from IKEA (9.99)
- Ljusnan 3 basket set from IKEA (5.99)
- Cotton yarn, or bakers twine (1.99)
- Colorful scrap booking sheets (.25 ea)
- Elmer's Glue
The Vate table lamp is basically an oddly shaped paper lantern. It has a light kit included and once assembled and turned upside down, it easily becomes a hanging lamp that looks like a hot air balloon. The only modification is cutting off the 3 metal legs that when turned upside down stick out the very top. I used a Dremel tool to cut them off, which took a bit of caution to not damage the paper or the frame. I'd recommend heavy duty wire cutters if you've got them. The remaining edges are sharp, so a delicate sanding is a good idea.

The Ljusnan basket came in a set of 3 with lids. The smallest basket is the perfect size. Take the cotton yarn (found it in a super cute combo of pale red, blue green and yellow colors) and double it over, then loop it around it self to create a very clean look, and also to prevent any knots from coming undone. This also gives a double strand of yarn to glue to the shade, adding a bit of strength.

I hung the lamp from my shower rod to attach the basket and yarn. Tape the yarn first to make sure the basket is even underneath. Then carefully apply glue underneath the yarn and let it set. Luckily the paper lantern has seams, eight to be exact, so every other one is a guide to glue the yarn. Fold the yarn on the inside and glue there as well. Once the glue set, cut off the excess and apply glue again.
It was an after thought to add the flags, but they really make the lamp cute. The yarn was a bit bulky so I took the red and yellow strings out and kept the blue and green. Weave the yarn in and out of the basket at four points, and make sure the draping parts are even, then knot the twine inside the basket and apply a little glue. (Tip: wrap the yarn ends with masking tape to easily thread into the basket and cut off the tape part when done.)

I found scrap booking paper in blue, red and green that matched the yarn and lamp shade perfectly. Fold the paper in half, and draw triangles with the shortest side along the fold (I made a template so they would be uniform). Glue the triangles along the yarn, making sure they do not slide around.
You could even take it a step further and add a draping flag string around the shade....maybe next time!
So easy to make, and under $20. It took about two hours to assemble, with the flag string being the most time consuming. The red shade also gives a very soft glow. My friend and her husband were excited!
Bonus: The basket makes an EXCELLENT gift card holder. :)
♥ Becca